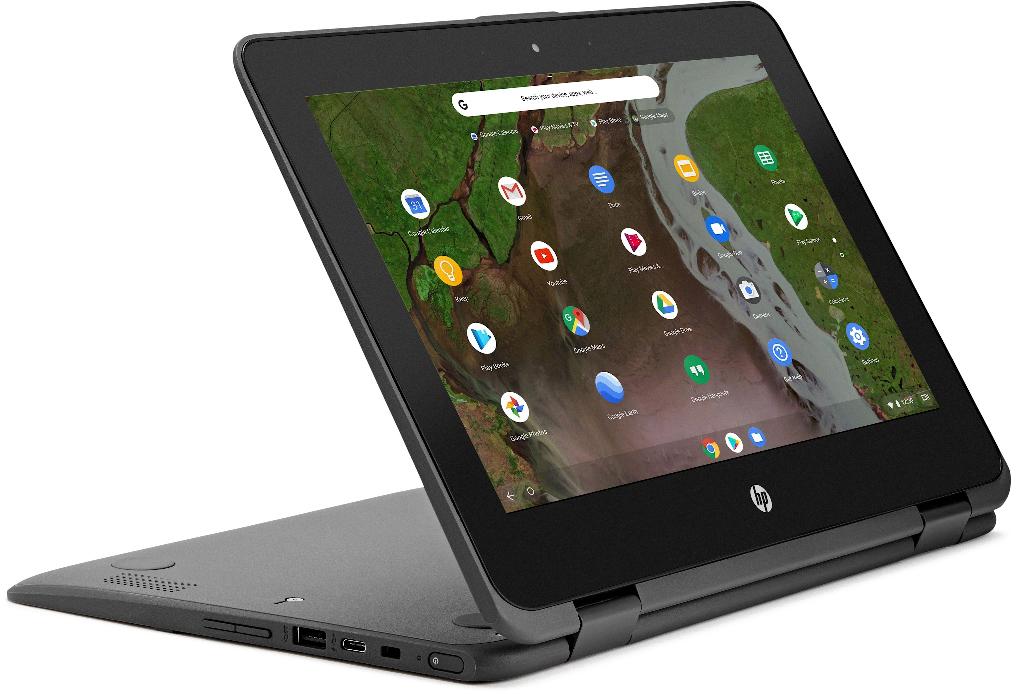
Chromebooks are popular for their simplicity and efficiency. When it comes to capturing what’s on your screen, taking a screenshot on a Chromebook is essential for saving important information or sharing content with others. Let’s delve into the different methods available to achieve this task effortlessly.
Using the Screenshot Key
If your Chromebook has a dedicated Screenshot key, consider yourself lucky! Simply locate the Screenshot key on your keyboard, usually found in the top row. Pressing this key will instantly capture the current screen and save it to your device.
Alternative Method: Shift + Ctrl + Show Windows
For Chromebooks without a specific Screenshot key, fret not. You can still take a screenshot by pressing a combination of keys. Try pressing Shift + Ctrl + Show windows simultaneously to capture the screen at your convenience.
Adapting to External Keyboards
Using an external keyboard with your Chromebook? No problem. If your external keyboard lacks the Show windows key, you can opt for an alternative shortcut. Press Ctrl + Shift + F5 to take a screenshot seamlessly.
Exploring Screen Recording Options
Besides capturing static screenshots, Chromebooks also offer the option to record your screen. This feature is particularly useful for creating tutorials, demonstrations, or showcasing dynamic content. Let’s explore how you can harness this functionality to its full potential.
Accessing Screen Recording Feature
To initiate screen recording on your Chromebook, navigate to the desired screen or application you wish to capture. Next, locate the screen recording tool, usually found in the system tray or taskbar, and initiate the recording process with a simple click.
Adjusting Recording Settings
Prior to recording, consider customizing the settings to suit your needs. You can adjust parameters such as video quality, audio input, and screen resolution to ensure you capture the content exactly as desired.
Enhancing Productivity with Screen Recording
Screen recording can significantly enhance your productivity by allowing you to document processes, troubleshoot issues, or create engaging presentations. By mastering this feature, you can streamline your workflow and effectively communicate ideas.
Sharing and Saving Captured Content
Once you’ve taken a screenshot or recorded your screen, you may wonder about the next steps. Chromebooks offer seamless options for sharing and saving your captured content. Whether you opt to store it locally or share it online, the choice is yours.
Utilizing Chromebook Help Resources
For further assistance or troubleshooting tips related to taking screenshots or recording your screen on a Chromebook, don’t hesitate to explore the Google Help resources available. These resources can provide valuable insights and guidance to enhance your user experience.

Final Thoughts
In conclusion, mastering the art of taking screenshots and recording your screen on a Chromebook is a valuable skill that can enhance your productivity and communication. By familiarizing yourself with the various methods and features available, you can effortlessly capture and share content with ease.
