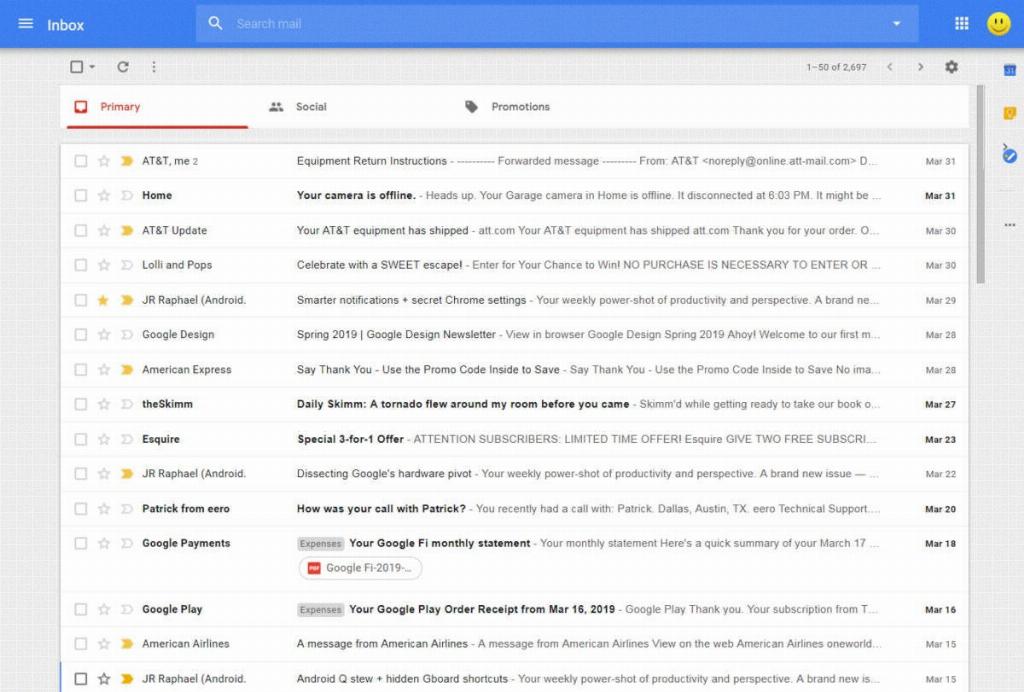
Blocking unwanted emails in Gmail can be a straightforward process that can help you maintain a clutter-free inbox. With a few simple steps, you can easily prevent those pesky emails from reaching your main inbox and disrupting your workflow. Here’s a step-by-step guide on how to block emails in Gmail.
Step 1: Open Gmail on Your Computer
The first step in blocking emails in Gmail is to open your Gmail account on your computer. Make sure you are logged in to the account where you want to block the sender’s email.
Step 2: Select the Email You Want to Block
Once you have opened Gmail, navigate to the email that you want to block. Click on the specific email to open it and view its contents.
Step 3: Click on ‘More’ Option
At the top-right corner of the email, you will find the ‘More’ option represented by three vertical dots. Click on this option to reveal a dropdown menu with additional actions.
Step 4: Select ‘Block [Sender]’
Within the dropdown menu, locate and click on the ‘Block [Sender]’ option. Gmail will prompt you to confirm your decision to block the sender and move their future emails to Spam.
Step 5: Confirm Your Action
After selecting the ‘Block [Sender]’ option, Gmail will ask you to confirm your action. Click on the confirmation prompt to finalize the blocking process.
Step 6: Sender Blocked Successfully
Once you have confirmed the action, Gmail will block the sender, and any future emails from that sender will be automatically diverted to your Spam folder.
Step 7: Managing Blocked Senders
If you ever want to unblock a sender or manage your list of blocked senders, you can do so by accessing the Settings in Gmail and navigating to the Blocked Senders section.
Step 8: Removing a Sender from the Blocked List
To remove a sender from your blocked list, go to Settings, then to the Blocked Senders section. Here, you can view and manage your list of blocked senders and choose to unblock specific email addresses.
Step 9: Managing Spam Emails
It’s essential to periodically check your Spam folder to ensure that no important emails were mistakenly marked as spam. Gmail automatically deletes spam emails after 30 days, so be sure to review this folder regularly.
Step 10: Stay Vigilant Against Spam
While blocking senders can help reduce unwanted emails, it’s crucial to stay vigilant against spam by not clicking on suspicious links or providing personal information to unknown senders.

Conclusion
Blocking emails in Gmail is a useful feature to maintain a clean inbox and avoid unnecessary distractions. By following these simple steps, you can effectively block unwanted senders and manage your email preferences in Gmail.
