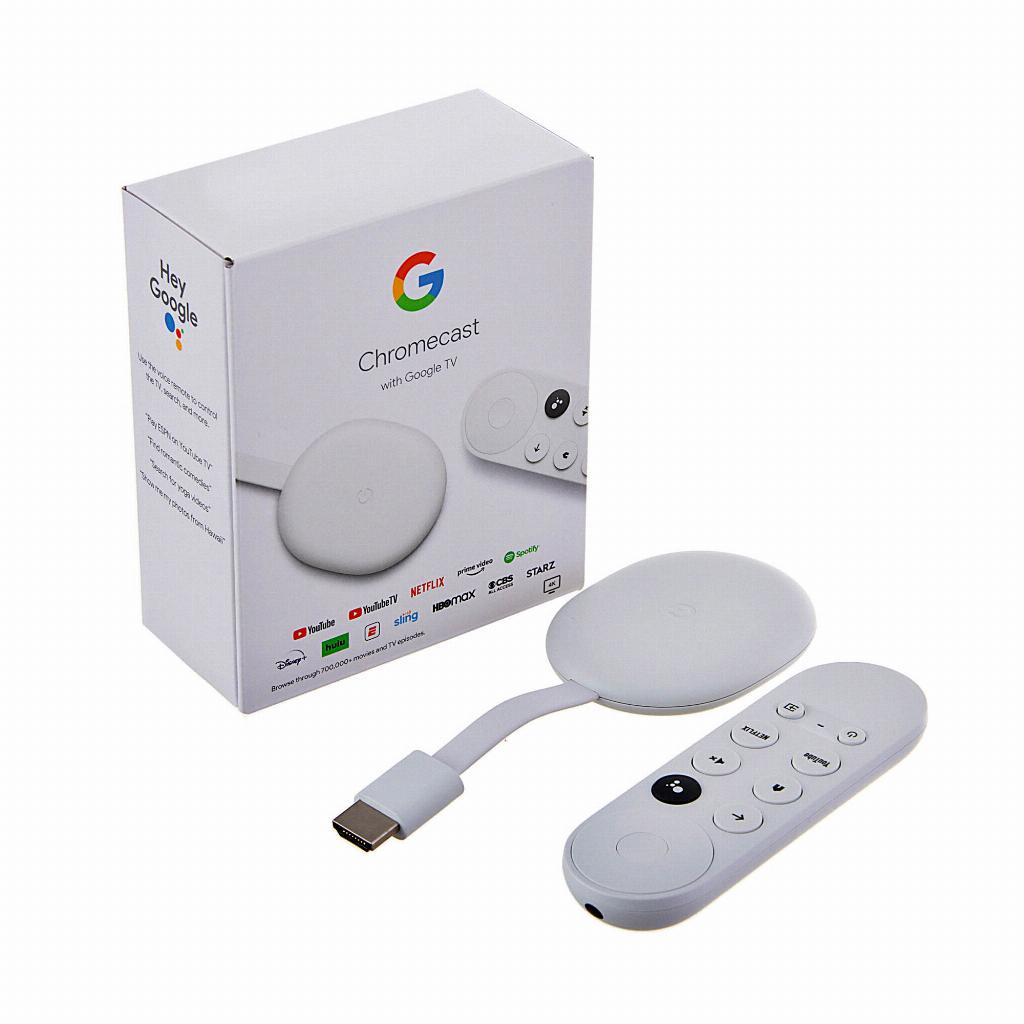
When it comes to changing the WiFi network on your Chromecast, it’s important to follow the right steps to ensure a smooth transition. Here’s a detailed guide on how you can easily switch your Chromecast to a new WiFi network:
Step 1: Turn on Your TV and Open the Google Home App
The first step in changing the WiFi network on your Chromecast is to turn on your TV and open the Google Home app on your mobile device. This app is essential for managing your Chromecast settings and making any necessary changes.
Step 2: Select Your Chromecast Device
Once you have the Google Home app open, navigate to the list of available devices and select your Chromecast from the list. This will bring up the settings and options for your specific device.
Step 3: Tap the Gear Icon
Within the settings for your Chromecast, look for the gear icon located in the top-right corner of the screen. Tap on this icon to access the advanced settings menu for your device.
Step 4: Access WiFi Settings
After tapping the gear icon, you will see a list of options for your Chromecast. Look for the WiFi section and tap on this option to view the available WiFi networks.
Step 5: Forget the Current Network
Within the WiFi settings, you’ll see an option to “Forget this Network.” Tap on this option to disconnect your Chromecast from the current WiFi network.
Step 6: Connect to a New WiFi Network
Once you have forgotten the current network, your Chromecast will prompt you to connect to a new WiFi network. Select the network you want to connect to and enter the password if necessary.
Step 7: Confirm the Connection
After entering the password for the new WiFi network, confirm the connection on your Chromecast. Your device will attempt to connect to the new network and establish a stable connection.
Step 8: Test the Connection
Once the connection has been established, test the new WiFi network on your Chromecast by streaming a video or casting content from your mobile device. Ensure that the connection is stable and working correctly.
Step 9: Troubleshooting Tips
If you encounter any issues during the process of changing the WiFi network on your Chromecast, try rebooting your device, resetting your router, or contacting Google support for assistance.
Step 10: Additional Settings
Explore other settings and options within the Google Home app to customize your Chromecast experience further. You can adjust display settings, volume controls, and other preferences to enhance your viewing experience.
Step 11: Enjoy Your Chromecast
Once you have successfully changed the WiFi network on your Chromecast, sit back, relax, and enjoy streaming your favorite content on the big screen. Your device is now connected to a new network, ready for hours of entertainment.

Step 12: Conclusion
Changing the WiFi network on your Chromecast is a simple process that can be done through the Google Home app. By following these steps carefully, you can ensure a seamless transition to a new network and continue enjoying all the features and benefits of your Chromecast device.


