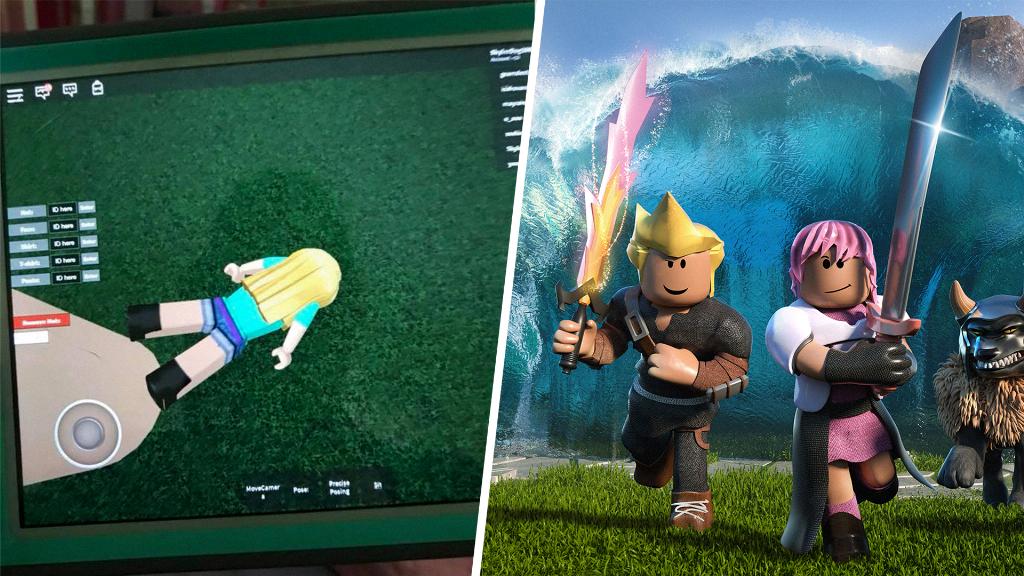
So you’re interested in creating custom decals on Roblox to add a personal touch to your games or experiences. Well, you’re in the right place! Custom decals can enhance the visual appeal of your creations and make them stand out. Let’s dive into the process of making decals on Roblox step by step.
Gather Your Tools
The first step in creating decals on Roblox is to gather the necessary tools. You will need an external program like Paint, Photoshop, Paint.NET, or any other image editing software to design your decal. Make sure your decal/image is under 20mb in size to ensure smooth uploading.
Access Roblox Studio
If you haven’t already, you will need to install Roblox Studio on your device. This platform provides you with the tools to create and upload custom content, including decals. Once you have Roblox Studio installed, open it up and log into your account.
Navigate to the Decals Section
Once you’re in Roblox Studio, navigate to the development items section. From there, click on the decals option. This will open up a window where you can upload your custom decal image. Click on the upload button to proceed.
Upload Your Custom Decal
After clicking the upload button, select the custom decal/image that you created earlier in your image editing software. Ensure that the image meets the size requirements and that it is appropriate for use on Roblox according to the platform’s guidelines.
Adjust Settings as Needed
Once you’ve uploaded your custom decal, you may need to adjust some settings such as transparency, tiling, and scaling to ensure that it looks good in the context of your game or experience. Take the time to fine-tune these settings to achieve the desired effect.
Save Your Decal
After making any necessary adjustments, be sure to save your custom decal within Roblox Studio. This will ensure that it is stored within your account and can be easily accessed and applied to your creations in the future.
Apply Your Decal to Objects
Now that your custom decal is saved, you can apply it to objects within your game or experience. Simply select the object you want to apply the decal to, navigate to the decals section, and choose your custom decal from the list of available options. Apply it to the object, and you’re all set!
Test and Iterate
Once you’ve applied your custom decal to objects, take the time to test it within the game environment. Make any necessary adjustments or tweaks to ensure that the decal enhances the overall visual appeal of your creation. Iteration is key to achieving the desired result.
Share Your Creations
After creating custom decals on Roblox, don’t forget to share your creations with the Roblox community! Whether it’s showcasing your game or experience on the platform or sharing screenshots on social media, sharing your work can inspire and engage others.
Discover More Possibilities
Custom decals are just the beginning of the creative possibilities on Roblox. Explore other custom content options, such as meshes, textures, and scripts, to further enhance your creations. The more you explore and experiment, the more you’ll learn and grow as a developer on Roblox.

Have Fun and Keep Creating
Above all, have fun with the process of creating custom decals on Roblox! Embrace your creativity, experiment with different designs and styles, and continue to push the boundaries of what’s possible within the Roblox platform. Happy creating!
