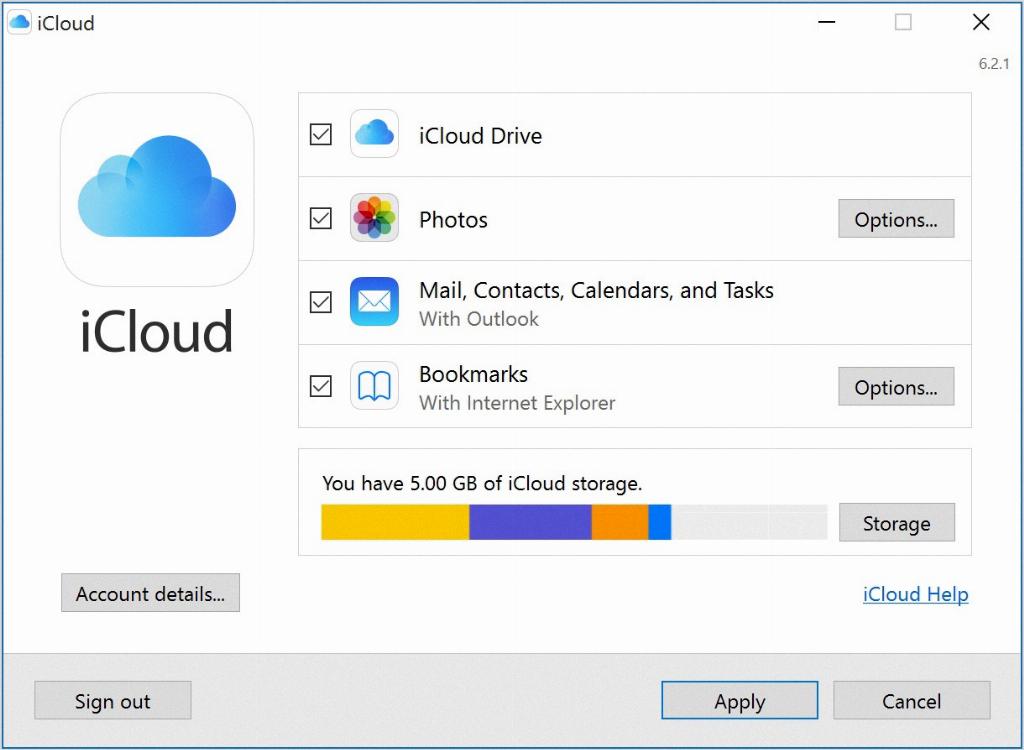
Uploading photos directly to iCloud can be a convenient way to store and access your images from various devices. If you’re wondering how to send pictures to iCloud, here are some steps to help you get started:
Step 1: Visit iCloud Website
The first thing you need to do is visit icloud.com using a web browser on your computer or smartphone. Make sure you are connected to the internet to access your iCloud account.
Step 2: Sign In to Your Account
Next, sign in to your iCloud account using your Apple ID credentials. This will give you access to your iCloud storage and various apps, including the Photos app for managing your images.
Step 3: Access the Photos App
Once you are signed in, locate and select the Photos app from the iCloud dashboard. This will open the Photos interface where you can manage and upload your pictures.
Step 4: Drag and Drop Your Photos
To upload photos to iCloud, simply drag and drop the images from your Mac or PC into the Photos app window. This will initiate the upload process, and your pictures will be saved to your iCloud storage.
Step 5: Organize Your Photos
After uploading your pictures, you can organize them in iCloud by creating albums, adding tags, and titles to each photo. This will make it easier to find and access specific images when needed.
Step 6: Sync Across Devices
One of the benefits of using iCloud is that your photos will sync across all your Apple devices linked to the same iCloud account. This means you can access your pictures from your iPhone, iPad, Mac, or even Apple Watch.
Step 7: Share Your Photos
Once your pictures are uploaded to iCloud, you can easily share them with friends and family by generating a shareable link or inviting them to view your photos directly from the iCloud platform.
Step 8: Backup Your Memories
By sending your pictures to iCloud, you are essentially creating a backup of your precious memories. In case your device is lost or damaged, you can always retrieve your photos from iCloud.
Step 9: Enable iCloud Photo Library
To streamline the process of uploading and managing photos, consider enabling iCloud Photo Library on your devices. This feature automatically syncs your photos across all linked devices.
Step 10: Ensure Sufficient Storage
Before sending a large number of pictures to iCloud, make sure you have enough storage space available in your iCloud account. You may need to upgrade your storage plan if necessary.
Step 11: Stay Connected
Keep your devices connected to the internet to ensure a seamless upload process to iCloud. Having a stable internet connection is crucial for transferring photos efficiently.

Step 12: Enjoy Hassle-Free Photo Management
With these simple steps, you can easily send pictures to iCloud and enjoy hassle-free photo management across all your Apple devices. Take advantage of iCloud’s features to store, organize, and share your images effortlessly.
