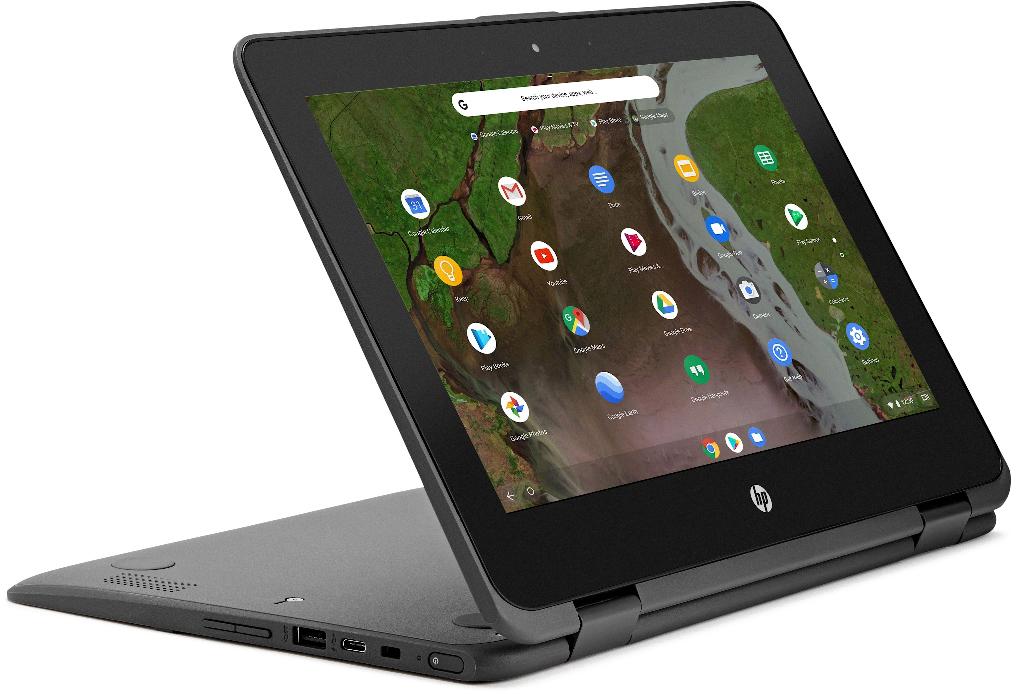
When it comes to capturing what’s on your Chromebook’s screen, the process may vary slightly depending on the model you have. If your Chromebook is not equipped with a dedicated Screenshot key, there is an alternative method you can use to take a screenshot.
To take a screenshot on a Chromebook that lacks a specific Screenshot key, you can simply press Shift + Ctrl + Show windows. This key combination will capture the contents of your screen and save it as an image file for you to access and use later on.
For those using an external keyboard that doesn’t include a Show windows key, fret not; there’s still a way to take a screenshot on your Chromebook. In this case, you can press Ctrl + Shift + F5 to accomplish the same task of capturing your screen.
If you’re unsure about the exact key combinations to use or encounter any issues while attempting to take a screenshot on your Chromebook, you can always refer to the Chromebook Help section provided by Google. This resource offers comprehensive guidance on various Chromebook-related tasks, including taking screenshots.
By following these simple steps or key combinations, you can easily capture important information, interesting content, or memorable moments on your Chromebook. Taking a screenshot can be incredibly useful for saving and sharing content or troubleshooting technical issues.
Whether you’re a student needing to capture notes from an online lecture or a professional saving important data for future reference, knowing how to take a screenshot on your Chromebook can streamline your workflow and enhance your productivity.
Additionally, by familiarizing yourself with the different methods of taking screenshots on a Chromebook, you can adapt to various situations and devices. This versatility ensures that you can capture screen images efficiently regardless of the Chromebook model or keyboard setup you’re using.
Remember that while taking screenshots can be a simple process once you know the key combinations, practice makes perfect. It’s a good idea to try taking a few test screenshots to get comfortable with the process and ensure that you can quickly capture what you need when the time comes.
Furthermore, understanding how to take screenshots on your Chromebook is a valuable skill that can benefit you in both personal and professional settings. Whether you’re creating presentations, documenting software issues, or sharing content on social media, the ability to take screenshots efficiently is a valuable asset.
Don’t hesitate to explore the various features and capabilities of your Chromebook, including its screenshot functionality. Experimenting with different key combinations and practicing taking screenshots can help you become more proficient in using your Chromebook for a wide range of tasks.
In conclusion, knowing how to take screenshots on your Chromebook is a valuable skill that can enhance your user experience and streamline your workflow. By following the simple steps outlined above, you can easily capture and save important information, images, and content on your Chromebook for future reference and sharing.

