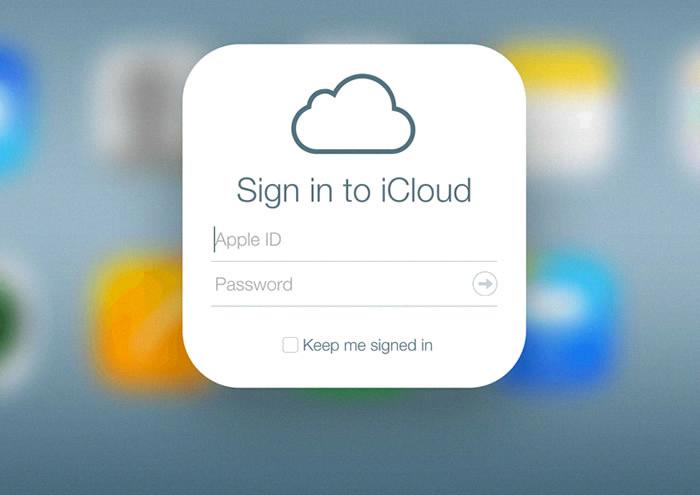
Adding an iCloud email to your Apple device is a simple process that can enhance your overall experience by seamlessly integrating your email with your other Apple services. If you are looking to set up an iCloud email address on your iPhone, iPad, or iPod touch, follow these steps to get started:
Step 1: Access Your Device Settings
Begin by unlocking your device and navigating to the “Settings” icon on your home screen. Tap on “Settings” to access the main settings menu for your device.
Step 2: Locate iCloud Settings
Scroll down the settings menu until you find your name at the top. Tap on your name to access your personal settings. From there, locate and tap on “iCloud” to proceed.
Step 3: Set Up iCloud Mail
Within the iCloud settings, you will see various options including “iCloud Mail” or simply “Mail.” Tap on this option to initiate the setup process for your iCloud email account.
Step 4: Follow On-Screen Instructions
Once you have selected iCloud Mail, follow the on-screen instructions provided by the device. These instructions will guide you through the necessary steps to create and set up your iCloud email address successfully.
Step 5: Verify Your Email Address
After completing the setup process, you may be required to verify your email address to ensure that it is active and operational. Follow the prompts to verify your iCloud email.
Step 6: Access your iCloud Email
Once your iCloud email address is successfully set up and verified, you can start using it to send and receive emails directly from your Apple device. Access your email app to begin managing your iCloud emails.
Step 7: Sync Your iCloud Account
To ensure that your iCloud emails are synced across all your devices, make sure your iCloud account is active and synced with your Apple ID. This will allow you to access your emails seamlessly on any Apple device.
Step 8: Customize Your Email Settings
Explore the settings options within the email app to customize your iCloud email experience. You can adjust notification settings, email signature, and other preferences to tailor your email management to your liking.
Step 9: Manage Email Storage
Keep an eye on your iCloud email storage to ensure that you have enough space for incoming emails and attachments. Regularly delete unnecessary emails and clear out your inbox to optimize your email storage.
Step 10: Stay Updated with iCloud Mail
Check for updates to the iCloud Mail service to access new features and improvements released by Apple. Staying updated will ensure that your iCloud email account is running smoothly and efficiently.
Step 11: Troubleshooting
If you encounter any issues or difficulties while setting up or using your iCloud email, refer to Apple Support for troubleshooting guides and solutions. You can find helpful resources online or contact Apple Support for assistance.

Step 12: Enjoy Your iCloud Email
Now that you have successfully added and set up your iCloud email on your Apple device, enjoy the seamless integration of your email with your Apple services. Stay connected and organized with your iCloud email account.
