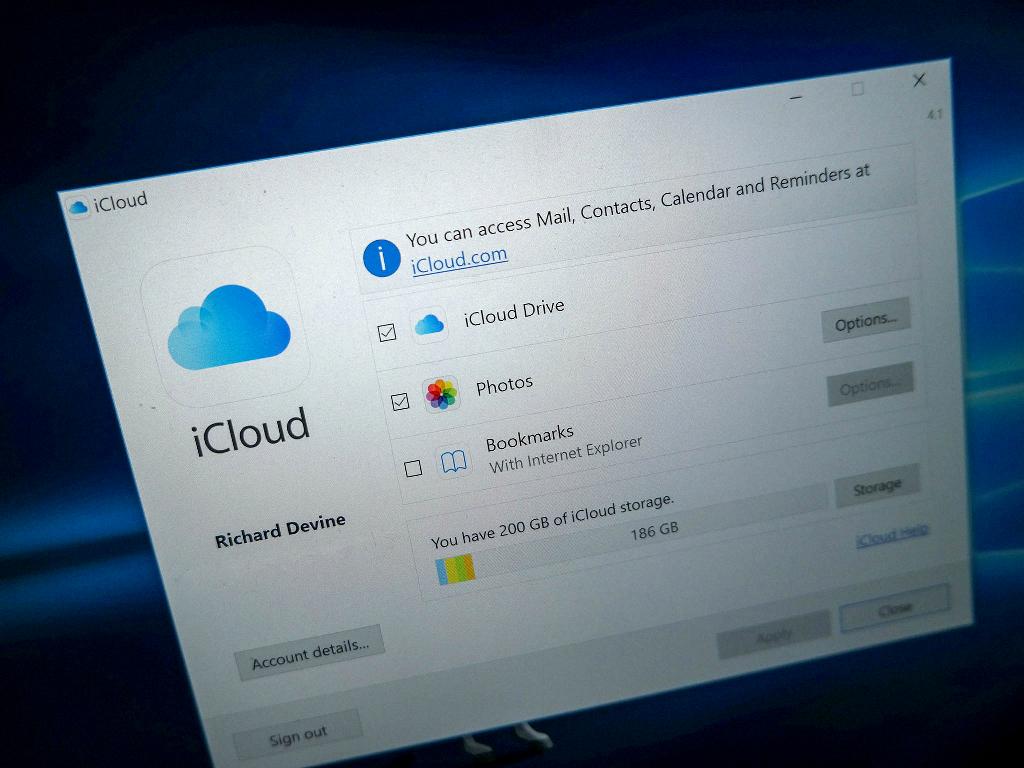
To begin checking your iCloud Mail on a Windows PC, open your browser and navigate to the official Microsoft Store website. Once there, you can search for iCloud in the search bar at the top of the page.
Step 2: Download iCloud for PC
After locating iCloud in the Microsoft Store, click on the “Get” button to download the iCloud for PC application. Follow the on-screen instructions to complete the download and installation process.
Step 3: Sign In to iCloud Mail
Once iCloud for PC is installed on your Windows computer, you can open the application and sign in with your Apple ID and password. This will grant you access to your iCloud Mail account directly on your PC.
Step 4: Access iCloud Mail on Browser
If you prefer not to download the iCloud for PC application, you can still check your iCloud Mail on Windows by visiting the official iCloud Mail website at https://www.icloud.com/mail in your browser.
Step 5: Sign In to iCloud Mail on Browser
Once you reach the iCloud Mail website, enter your Apple ID and password in the designated sign-in fields. This will authenticate your access to your iCloud Mail account directly through the website.
Step 6: Navigate Your iCloud Mail Inbox
After signing in to iCloud Mail, you will be directed to your inbox where you can view your received emails, compose new messages, and manage your email settings and preferences.
Step 7: Compose a New Email
To compose a new email in iCloud Mail, click on the “Compose” button within your inbox. You can then enter the recipient’s email address, subject line, message content, and any attachments you wish to include.
Step 8: Manage Email Settings
If you need to adjust your email settings or preferences in iCloud Mail, look for the settings menu within the application or website. Here, you can customize your inbox layout, notifications, and security options.
Step 9: Organize Your Emails
Keep your iCloud Mail organized by using folders, labels, or tags to categorize your emails. You can create specific folders for different types of emails or mark important messages for easy reference.
Step 10: Search for Specific Emails
If you need to find a specific email in your iCloud Mail account, use the search bar within the application or website to enter keywords or sender names. This will help you locate the email you’re looking for quickly.
Step 11: Stay Updated with Notifications
Enable email notifications in iCloud Mail to stay informed about new messages, replies, or updates in your inbox. By receiving notifications, you can stay on top of your email communication and respond promptly.

Step 12: Log Out Securely
After you’re done checking your iCloud Mail on Windows, remember to log out of your account securely. This will help protect your privacy and prevent unauthorized access to your emails and personal information.
