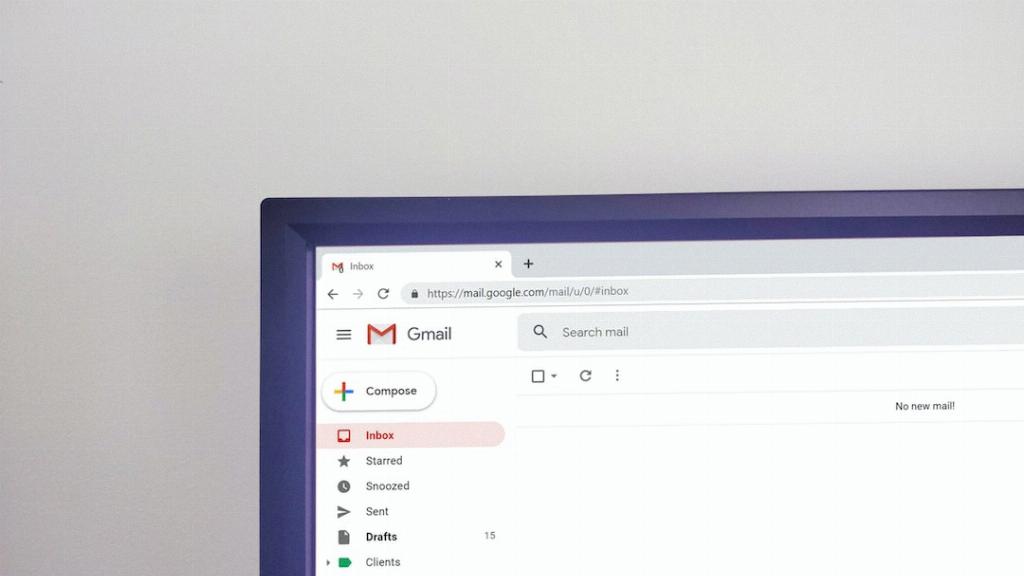
Setting up an email signature in Gmail is a simple process that can help you personalize your emails and make them look more professional. Here’s a step-by-step guide to help you add or change your email signature in Gmail.
Step 1: Open Gmail Settings
The first step is to open your Gmail account and navigate to the top right corner of the page where you will find the Settings option. Click on Settings to access the settings menu.
Step 2: Access Signature Settings
Once you are in the Settings menu, locate the “Signature” section. This is where you can add or update your email signature. Click on the Signature section to start customizing your signature.
Step 3: Add Your Signature Text
In the Signature box, you can type in the text that you want to include in your email signature. You can also format your signature by adding an image or changing the text style to make it more visually appealing.
Step 4: Customize Your Signature
Feel free to customize your signature by adding a personal touch. You can include your name, job title, contact information, and any other details that you want to share with the recipients of your emails.
Step 5: Save Your Changes
Once you are satisfied with your email signature, scroll down to the bottom of the page and click on the “Save Changes” button to save your new signature settings.
Step 6: Test Your Signature
After saving your signature, it’s a good idea to send a test email to yourself or a friend to make sure that your signature appears as intended and looks good in the email body.
Step 7: Update Your Signature as Needed
You can always go back to the Signature section in the Settings menu to update or change your email signature. Feel free to modify your signature based on your evolving preferences or contact information.
Step 8: Use Different Signatures for Different Needs
If you have multiple email accounts or if you use Gmail for different purposes, you can create and use different signatures for each account or use case. This allows for greater customization based on your specific needs.
Step 9: Stay Consistent with Your Branding
When creating your email signature, try to stay consistent with your branding. Use similar colors, fonts, and design elements that align with your personal or professional brand to create a cohesive and memorable signature.
Step 10: Keep Your Signature Concise
While you have the flexibility to customize your email signature, it’s important to keep it concise and to the point. Include only the essential information that you want to share with your recipients to ensure that your signature is not overwhelming or cluttered.
Step 11: Update Your Signature Regularly
As your contact information or job title changes, make sure to update your email signature accordingly. Keeping your signature up to date shows professionalism and ensures that recipients have accurate information to reach out to you.

Step 12: Enjoy Your Personalized Email Signature
By following these steps, you can easily set up an email signature in Gmail that reflects your personality and professionalism. Enjoy using your personalized signature in all your emails to leave a lasting impression on your recipients.
