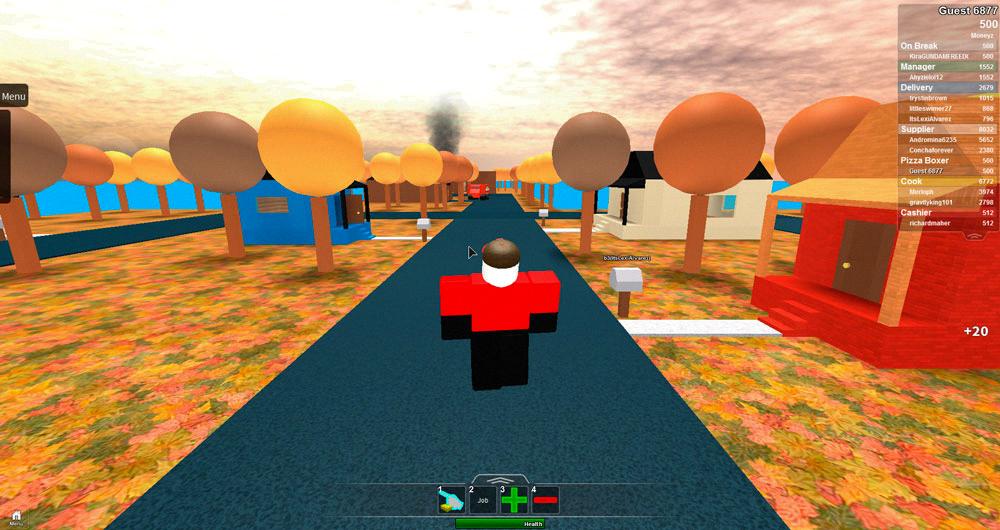
When it comes to creating captivating thumbnails for your Roblox creations, it’s essential to make them stand out to attract players and make them want to check out your content. One effective way to do this is by utilizing the Custom Thumbnail Tool plugin available in Roblox Studio.
To get started, the first step is to install the Custom Thumbnail Tool plugin in Roblox Studio. This plugin will provide you with the necessary features and tools to create visually appealing thumbnails for your Roblox games or accessories.
Once you have the plugin installed, open your Roblox Studio and navigate to the Explorer window. From there, select the specific Accessory or game element that you want to create a thumbnail for. This will be the focal point of your thumbnail design.
With the chosen Accessory highlighted in the Explorer window, go to the Plugins tab and click on the UGC Thumbnail Tool. This tool will allow you to customize and fine-tune the appearance of your thumbnail to make it more enticing and eye-catching to potential players.
One crucial aspect of creating a thumbnail for Roblox is adjusting the viewport to center on your Accessory or game element. This step is essential in ensuring that the main focus of your thumbnail is prominently displayed and easily visible to viewers.
When adjusting the viewport, take the time to frame your Accessory or game element in a visually appealing and engaging manner. Consider the composition, lighting, and overall aesthetic to create a thumbnail that effectively conveys the essence of your Roblox creation.
Furthermore, pay attention to the details and fine-tune the positioning of your Accessory within the viewport. Make sure that it is appropriately centered and aligned to create a balanced and visually pleasing thumbnail that will attract the attention of players browsing through Roblox content.
Additionally, consider experimenting with different camera angles and perspectives to showcase your Accessory or game element from various viewpoints. This can add depth and dimension to your thumbnail, making it more dynamic and engaging for viewers.
Don’t hesitate to utilize the customization options provided by the Custom Thumbnail Tool plugin to enhance the visual appeal of your thumbnail further. This includes adjusting colors, adding effects, and incorporating text or graphics to make your thumbnail more visually striking.
Before finalizing your thumbnail design, take the time to preview it to ensure that it accurately represents your Roblox creation and effectively captures the essence of your game or Accessory. Make any necessary adjustments to refine the thumbnail before publishing it.
Once you are satisfied with your thumbnail design, save your work and use it to promote your Roblox game or Accessory. A well-crafted thumbnail can make a significant impact on attracting players and generating interest in your content within the Roblox community.
In conclusion, creating a compelling thumbnail for Roblox involves utilizing the Custom Thumbnail Tool plugin in Roblox Studio to customize and fine-tune the appearance of your Accessory or game element. By paying attention to details, framing your content effectively, and experimenting with different visual elements, you can create thumbnails that effectively showcase your Roblox creations and capture the attention of players.

