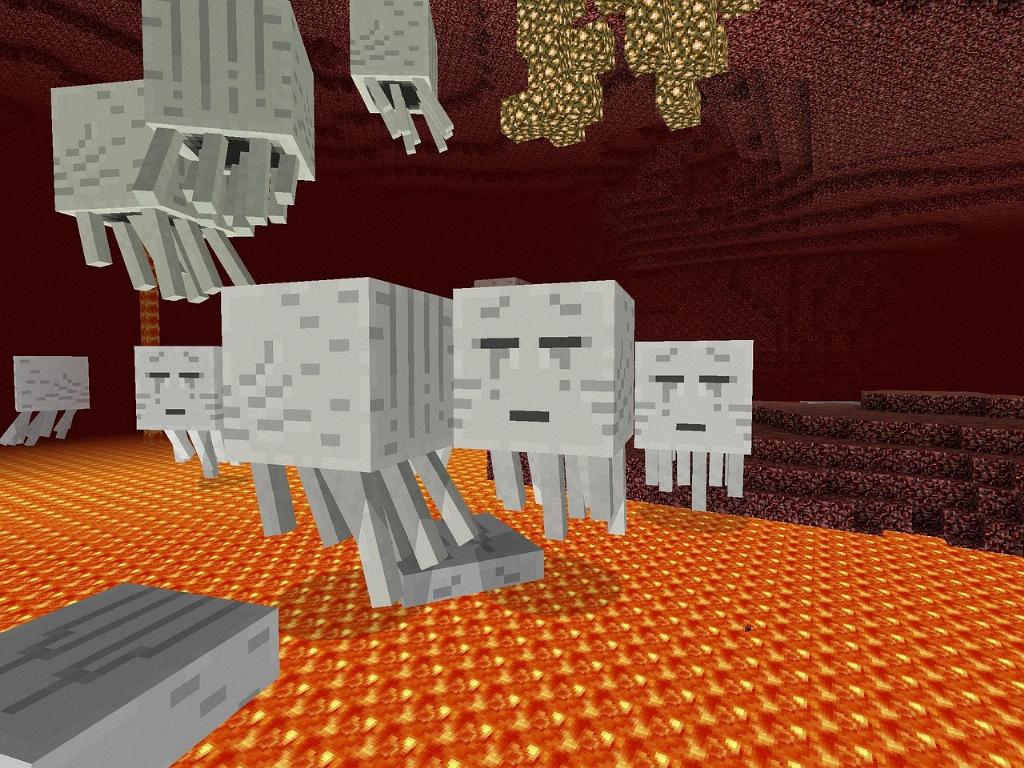
If you’ve ever wanted to personalize your Minecraft experience by creating your own unique texture pack, you’re in luck! With just a few simple steps, you can bring your creative vision to life and enhance the look of the game to suit your preferences.
Navigate to the “Textures” Folder
The first step in making your own texture pack in Minecraft is to navigate to the “Textures” folder within the game directory. This is where all the default textures are stored, and where you will be creating and saving your new textures.
Choose a Texture Category to Edit
Once you’re in the “Textures” folder, take some time to browse through the different texture categories available. Whether it’s blocks, items, or creatures, pick a category that you want to edit and open the corresponding folder.
Open a Texture in an Image Editing Program
After selecting the texture category you want to work on, open a specific texture in an image editing program of your choice. This could be Adobe Photoshop, GIMP, or any other program that allows you to edit images.
Edit Your Texture
Now comes the fun part – editing your texture! Get creative and make changes to the texture to align with your desired aesthetic. Whether it’s changing colors, adding details, or completely redesigning the texture, the choice is yours.
Save Your Edited Texture
Once you’re satisfied with the changes you’ve made to the texture, remember to save the edited file. Ensure it’s saved in the correct format and location within the “Textures” folder to ensure it appears correctly in-game.
Modify Other Textures (Optional)
If you have multiple textures you want to change, repeat the process for each texture. Editing several textures can help create a cohesive look for your custom texture pack and make your Minecraft experience even more unique.
Update the Version Number
After making all the desired changes to your textures, don’t forget to update the version number in the folder. This ensures that Minecraft recognizes your custom texture pack and allows you to use it seamlessly in the game.
Test Your Texture Pack
Before sharing your custom texture pack with others or using it regularly in-game, it’s crucial to test it out. Load Minecraft and apply your texture pack to see how it looks across different environments and scenarios.
Make Adjustments as Needed
During testing, if you notice any issues or areas for improvement in your texture pack, don’t hesitate to make adjustments. Tweaking textures based on feedback and personal preferences is all part of the creative process.
Share Your Texture Pack (Optional)
If you’re proud of the texture pack you’ve created and believe others would enjoy it too, consider sharing it with the Minecraft community. You can upload it to websites or forums where players can download and use your custom creations.

Conclusion
In conclusion, crafting your own texture pack in Minecraft is a rewarding way to express your creativity and enhance your gaming experience. By following these steps and unleashing your artistic flair, you can transform the look and feel of Minecraft to reflect your unique style. So, why not give it a try and see where your imagination takes you?
