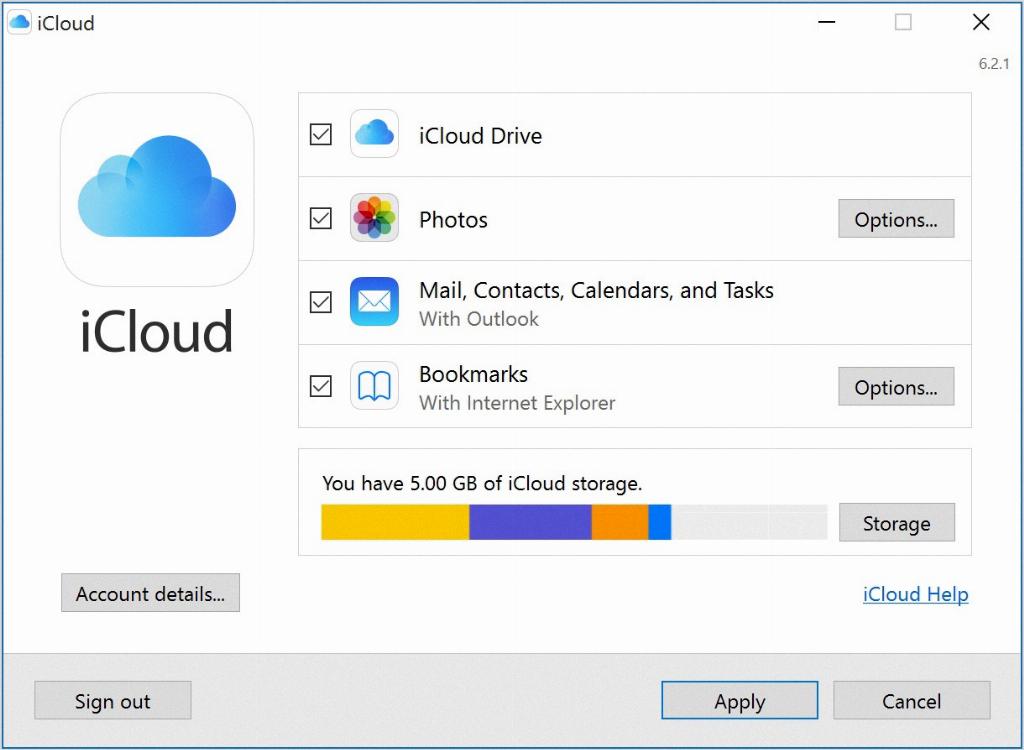
If you’re an Apple user, having an iCloud account is crucial for accessing storage, backups, and other essential features across your devices. In this article, we’ll guide you through the process of opening an iCloud account step by step.
Step 1: Accessing Your Device’s Home Screen
The first step in creating an iCloud account is to go to the Home screen of your Apple device. Whether it’s an iPhone, iPad, MacBook, or Apple Watch, ensure you are on the main screen where all your apps are displayed.
Step 2: Navigating to Settings
Once you are on the Home screen, scroll down or swipe to locate the Settings icon. It typically looks like a gear or cogwheel. Tap on the Settings icon to access the device settings.
Step 3: Initiating the Account Creation Process
Within the Settings menu, find the option that says “Create a new Apple ID” or “Sign in to your Apple ID” to begin the process of setting up your iCloud account. This will prompt you to enter your personal details.
Step 4: Providing Personal Information
As part of the account creation process, you will be asked to enter your date of birth, first name, and other personal information. Scroll up or down to set your date of birth and fill in your first name under the respective fields.
Step 5: Progressing to the Next Step
Once you have entered your personal information, select the “Next” button to proceed to the next stage of creating your iCloud account. This will redirect you to additional steps in finalizing the setup.
Step 6: Choosing a Username
During the account setup, you will be asked to choose a username for your iCloud account. This will likely be your email address, so make sure to pick a username that you can easily remember and access.
Step 7: Setting a Password
After selecting a username, you will need to set a password for your iCloud account. Ensure that your password is strong and secure to protect your personal data and ensure the confidentiality of your account.
Step 8: Verifying Your Account
As an added layer of security, you may be required to verify your account through a verification code sent to your email or phone number. Enter this code when prompted to confirm your identity.
Step 9: Accepting Terms and Conditions
Before finalizing the setup of your iCloud account, you will need to agree to Apple’s terms and conditions. Take the time to review these terms and conditions carefully before accepting them to proceed.
Step 10: Completion and Confirmation
Once you have completed all the necessary steps and agreed to the terms and conditions, your iCloud account will be successfully created. You will receive a confirmation message indicating that your account setup is complete.
Step 11: Accessing iCloud Services
With your iCloud account up and running, you can now access a range of services such as iCloud Drive, iCloud Photos, Find My iPhone, and more. Make the most of your iCloud account by exploring these features and functionalities.

Step 12: Enjoying the Benefits of iCloud
Congratulations! You have successfully opened an iCloud account and are now ready to enjoy the benefits of seamless data storage, backups, and synchronization across your Apple devices. Stay connected and organized with iCloud.
