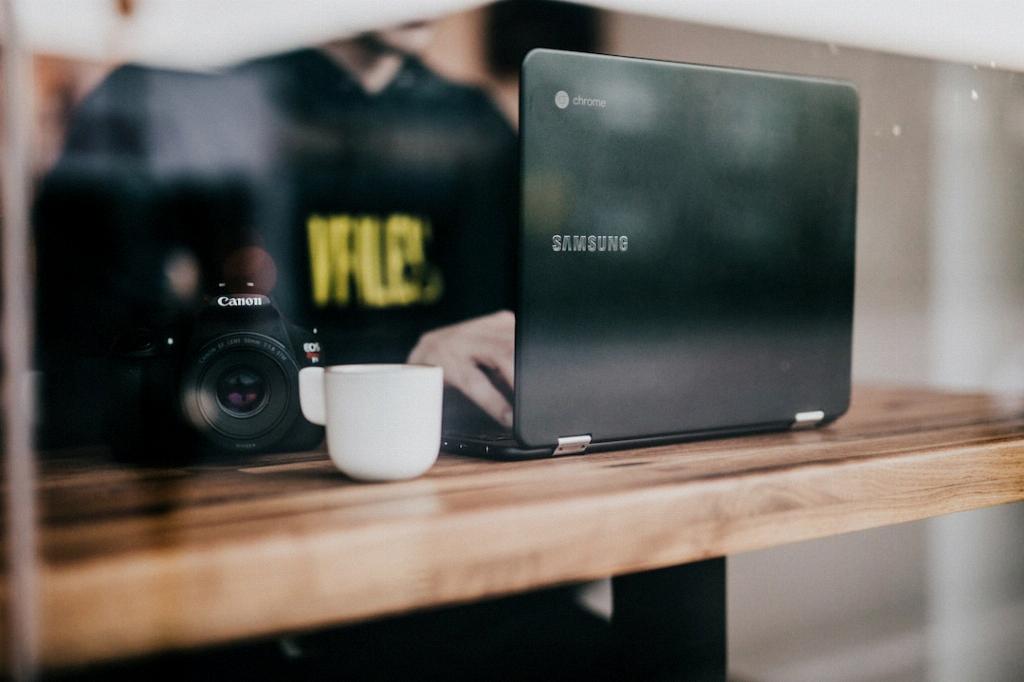
Recording on a Chromebook with audio can seem like a daunting task, but fear not, as there are simple methods you can utilize to achieve this effortlessly. In this article, we will guide you through the process of recording on your Chromebook with audio, whether you want to capture a video with sound or create a tutorial with audio narration.
Using the Built-In Screen Recorder
The built-in screen recorder on Chromebook allows you to record your screen along with audio. To initiate the recording process, simply press Shift + Ctrl + Show Windows simultaneously. A menu will pop up at the bottom of your screen, where you can select ‘screen record’ to begin capturing your content with audio.
Enhanced Features with Vmaker
If you’re looking for more advanced features and customization options for your screen recordings on Chromebook, you can opt to download the Vmaker screen recorder. This tool offers a range of enhancements that allow you to create high-quality recordings with audio without any hassle.
Step-by-Step Guide to Recording with Audio on Chromebook
1. Press Shift + Ctrl + Show Windows to access the screen recorder menu.
2. Select the ‘screen record’ option to start the recording process.
3. Ensure that your microphone is enabled to capture audio along with the video.
4. Begin recording your screen activity while speaking into the microphone to capture audio narration.
5. Once you are done recording, click on the stop button to save your audio-enabled screen recording.
Tips for High-Quality Audio Recording
When recording with audio on your Chromebook, it’s essential to consider a few tips to enhance the quality of your recordings. Ensure that you are in a quiet environment to avoid background noise, and speak clearly into the microphone for optimal audio clarity.
Exploring Audio Settings on Chromebook
Chromebook offers a range of audio settings that you can adjust to customize your recording experience. You can manage your microphone settings, adjust audio levels, and select the desired input source to ensure that your recordings have the best possible audio quality.
Editing and Sharing Your Audio-Enabled Recordings
Once you have completed your screen recording with audio on Chromebook, you can edit the recording as needed using built-in editing tools or third-party software. After editing, you can easily share your recording with others by exporting it in a compatible format or uploading it to a cloud storage platform.
Using Screen Recording for Various Purposes
Screen recording with audio on Chromebook can be utilized for a variety of purposes, such as creating educational tutorials, recording presentations, capturing gameplay, or sharing video messages. The versatility of screen recording makes it a valuable tool for both personal and professional use.

Final Thoughts
Recording on Chromebook with audio opens up a world of possibilities for creating engaging content and enhancing your digital communication. By following the simple steps outlined in this article and exploring the various tools available, you can easily record high-quality videos with audio on your Chromebook.
