If you’re having trouble with your DirecTV remote not responding to your commands, it may be time to resync it with your receiver. Luckily, the process is quite simple and can be done in just a few steps.
Step 1: Check Remote Pairing
Before you begin the resync process, ensure that your remote is correctly paired with your DirecTV receiver. This ensures that the signals are properly transmitted between the two devices.
Step 2: Point and Hold
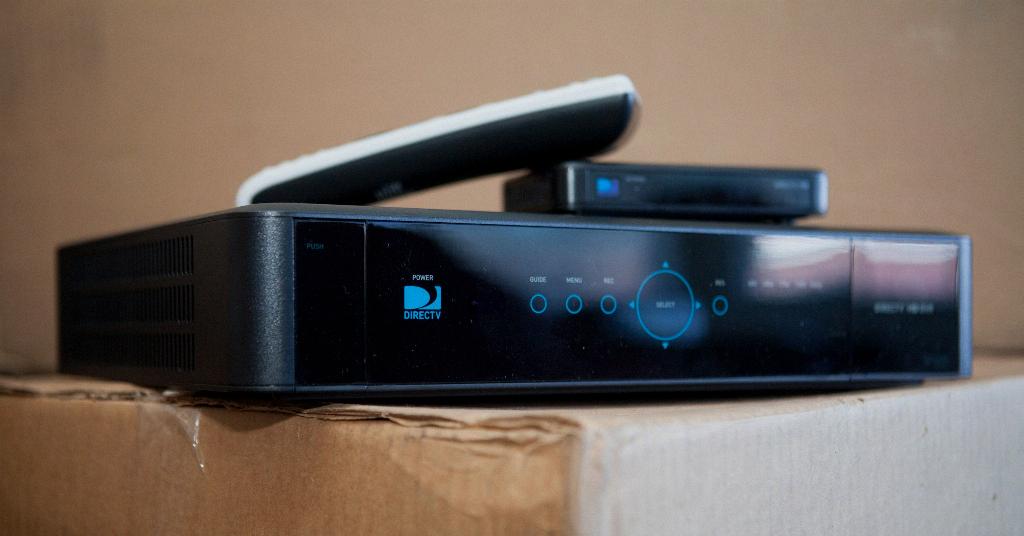
To start the resync process, point your remote at your Genie, Genie Mini, or Wireless Genie Mini. Next, press and hold both the MUTE and ENTER buttons simultaneously on your remote.
Step 3: Watch for Confirmation
As you hold down the MUTE and ENTER buttons, keep an eye on the screen. If the resync is successful, you should see a message that says “Applying IR/RF Setup.” This indicates that your remote is now synced with your receiver.
Step 4: Test Your Remote
After the resync process is complete, test your remote by trying out various commands to ensure that it is working properly. Make sure that the remote is responding accurately to your inputs.
Step 5: Troubleshooting
If you’re still experiencing issues with your remote after attempting to resync it, there are a few troubleshooting steps you can take. Check the batteries in your remote to ensure they have enough power, and try resetting your receiver to see if that resolves the problem.
Step 6: Additional Tips
For optimal performance, it’s essential to keep your remote clean and free from any obstructions that may interfere with the signal. Additionally, make sure to point the remote directly at the receiver when using it to ensure a strong connection.
Step 7: Contact Customer Support
If you’ve followed all the steps above and are still having trouble with your remote, don’t hesitate to contact DirecTV customer support for further assistance. They may be able to provide additional troubleshooting steps or help with replacing a faulty remote.
Step 8: Regular Maintenance
To prevent future issues with your remote, it’s a good idea to perform regular maintenance, such as cleaning the buttons and ensuring that the batteries are replaced when necessary. This can help prolong the life of your remote and keep it functioning correctly.
Step 9: Final Testing
Once you’ve completed the resync process and any necessary troubleshooting steps, perform a final test to confirm that your remote is working as expected. Test out different commands and functions to ensure that everything is functioning correctly.
Step 10: Enjoy Your Viewing Experience
With your DirecTV remote successfully resynced and working correctly, you can now sit back, relax, and enjoy your favorite shows and movies without any interruptions. Having a properly functioning remote makes your viewing experience that much more enjoyable.

Conclusion
Resyncing your DirecTV remote is a straightforward process that can help resolve any issues with signal transmission and responsiveness. By following the steps outlined above and performing regular maintenance on your remote, you can ensure that it continues to function optimally for all your viewing needs.


