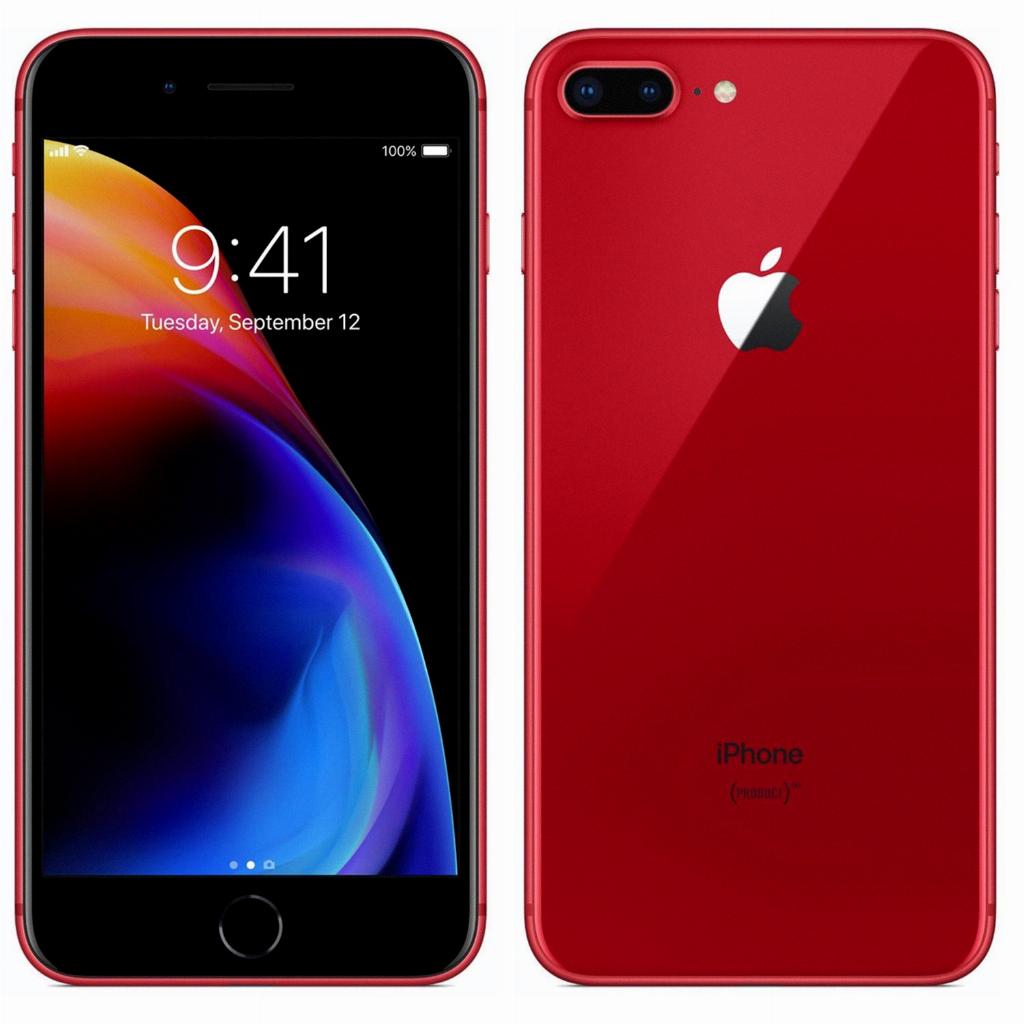
Apple Pay has revolutionized the way we make payments, offering a convenient and secure method for transactions. If you’re wondering how to set up Apple Pay on your iPhone, you’re in the right place. Let’s walk through the process together.
Step 1: Access Your Wallet App
The first step in setting up Apple Pay is to locate and open the Wallet app on your iPhone. This app serves as the hub for all your payment methods, including credit and debit cards.
Step 2: Choose the Card You Want to Connect
Once you’re in the Wallet app, select the card you wish to connect to Apple Pay. Tap on the card to proceed with the setup process.
Step 3: Initiate the Connection Process
Next, look for the option that says “Get Started” below the selected card. Tap on this button to kick off the process of connecting your account to Apple Pay.
Step 4: Follow the On-Screen Instructions
Once you’ve started the setup process, follow the on-screen instructions provided by the app. These instructions will guide you through the necessary steps to link your card to Apple Pay.
Step 5: Verifying Card Issuer Support
If you don’t see the “Get Started” option for a particular card, it’s possible that the card issuer does not support Apple Pay. In such cases, you may need to reach out to your bank or financial institution for further assistance.
Step 6: Security Measures
Apple Pay places a high priority on security, utilizing encryption and authentication protocols to safeguard your payment information. Rest assured that your transactions are protected when using this service.
Step 7: Added Convenience
With Apple Pay set up on your iPhone, you can enjoy the convenience of making quick and hassle-free payments at participating merchants, both online and in-store.
Step 8: Managing Multiple Cards
If you have multiple cards linked to Apple Pay, you can easily switch between them within the Wallet app, allowing for flexibility when choosing how to pay.
Step 9: Touch ID or Face ID
To enhance security further, Apple Pay can be configured to require Touch ID or Face ID authentication before completing a transaction, adding an extra layer of protection.
Step 10: Making Payments
When making payments using Apple Pay, simply hold your iPhone near the contactless reader and verify the transaction using Touch ID or Face ID, if required. It’s that simple!
Step 11: Enjoying the Benefits
Now that you have successfully set up Apple Pay on your iPhone, you can enjoy the benefits of a streamlined payment experience that puts convenience and security at the forefront.

Step 12: Exploring Additional Features
Apple Pay offers a range of additional features, such as the ability to send and receive money through Messages or Siri. Take some time to explore all the capabilities of this versatile payment platform.
