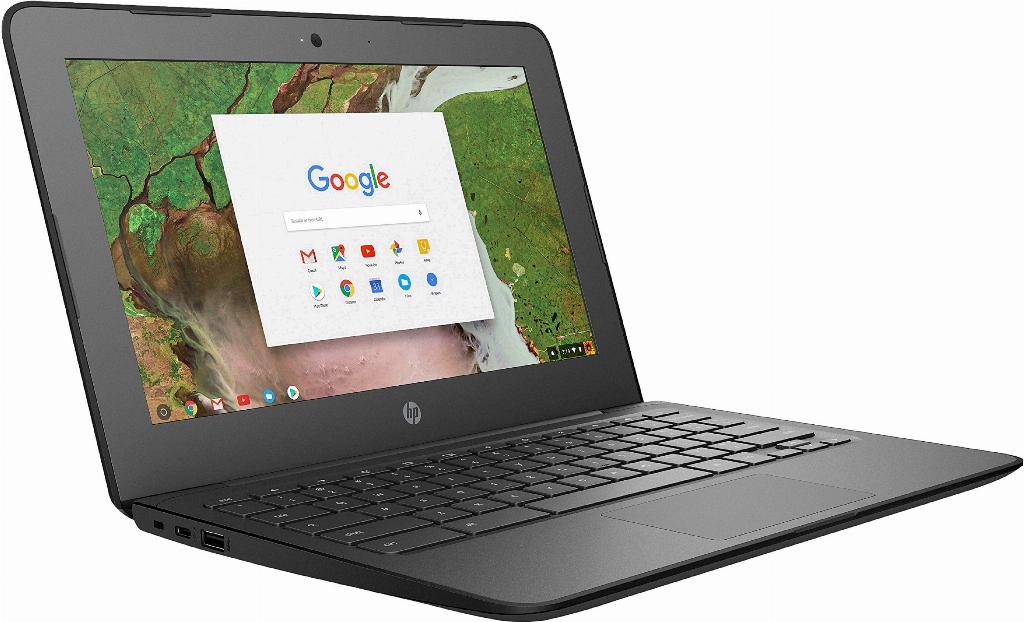
Setting up a printer on your Chromebook is a straightforward process that can be easily accomplished in just a few simple steps. Whether you need to print documents, photos, or any other content, having your printer connected to your Chromebook is essential for seamless printing functionality.
1. Connect Your Printer to the Internet
The first step in setting up your printer on a Chromebook is to ensure that your printer is connected to the internet. This is necessary for your Chromebook to communicate with the printer and send print jobs effectively.
2. Access Printer Settings on Chromebook
On your Chromebook, navigate to the bottom right corner of the screen and click on the time. From the dropdown menu, select ‘Settings’ to access the settings menu where you can configure your printer.
3. Navigate to Advanced Settings
Within the settings menu, scroll down to the bottom and click on ‘Advanced’ to access additional settings options, including printing preferences.
4. Locate Printer Settings
Under the “Printing” section, you will find the ‘Printers’ option. Click on this to view the list of printers currently available for setup on your Chromebook.
5. Add a New Printer
Next to the “Add printer” option, click on ‘Add printer’ to initiate the setup process for a new printer on your Chromebook.
6. Enter Printer Information
Once you have selected to add a new printer, you will need to enter the relevant information for your printer, such as the name of the printer and its model. This ensures that your Chromebook can identify and communicate with the printer correctly.
7. Complete Printer Setup
Follow the on-screen prompts to complete the printer setup process. Your Chromebook will automatically detect the printer and configure the necessary settings for seamless printing.
8. Test Print a Document
To ensure that your printer is set up correctly, try printing a test document from your Chromebook. This will verify that the printer is connected and functioning as expected.
9. Troubleshooting
If you encounter any issues during the setup process, such as the printer not being detected, double-check the internet connection, printer settings, and ensure that the printer is compatible with Chromebook.
10. Additional Printer Settings
Explore the additional printer settings available on your Chromebook to customize print preferences, such as paper size, print quality, and other printing options to suit your specific needs.
11. Enjoy Seamless Printing
Once your printer is successfully set up on your Chromebook, you can enjoy seamless printing of your documents, photos, and any other content directly from your device.

12. Conclusion
Setting up a printer on your Chromebook is a simple process that can enhance your overall productivity and convenience when it comes to printing tasks. By following the steps outlined above, you can easily connect and configure your printer for hassle-free printing on your Chromebook.
