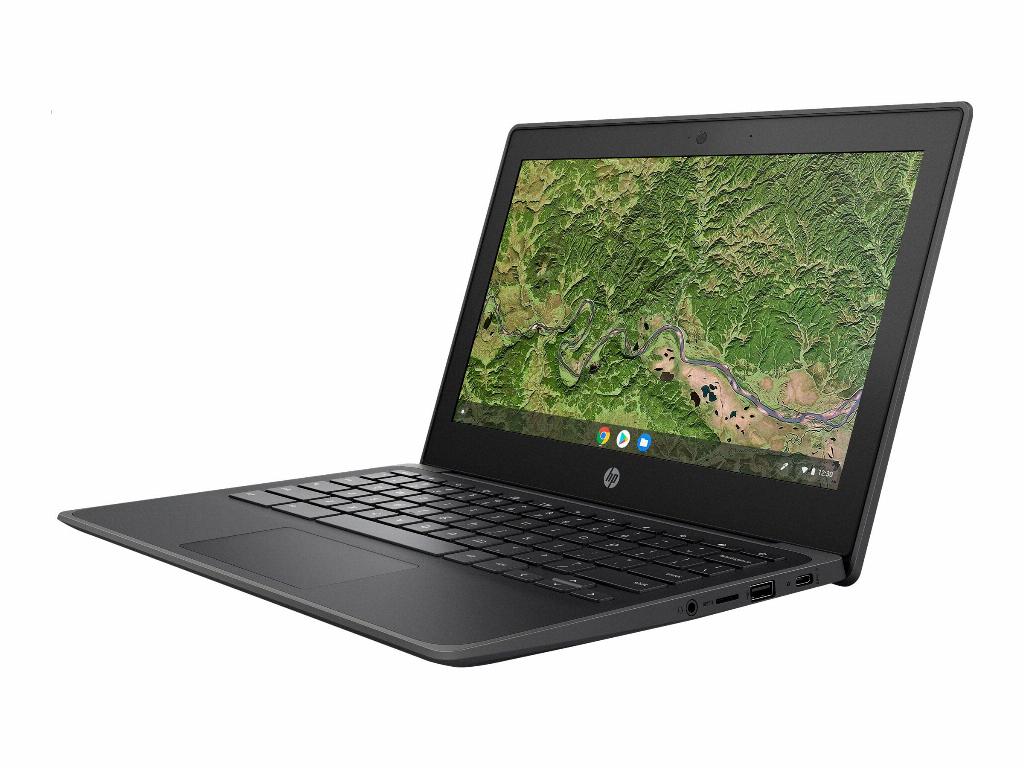
When it comes to capturing something on your Chromebook screen, knowing how to take a screenshot is essential. There are a few different methods you can use to achieve this, so let’s dive into the details on how to do it effortlessly.
Using the Screenshot Key
If your Chromebook is equipped with a dedicated Screenshot key, using it is the quickest and most convenient way to capture your screen. Simply locate the Screenshot key on your keyboard and press it to take a screenshot instantly.
Alternative Keyboard Shortcut
In the event that your Chromebook doesn’t have a designated Screenshot key, fret not. You can still capture screenshots by pressing Shift + Ctrl + Show windows simultaneously. This key combination serves as an alternative shortcut to snap a screenshot on your Chromebook.
Accessing the Screenshot Menu
After triggering the screenshot command, a menu will appear at the bottom of your screen with various options. From here, select the “Screenshot” option to further customize the screenshot settings according to your preferences.
Choosing Your Screenshot Type
Once you’ve accessed the Screenshot menu, you’ll have the flexibility to choose between taking a full-screen screenshot or specifying a portion of the screen to capture. This feature allows you to tailor your screenshot based on your specific needs.
Full-Screen Screenshot
If you opt for a full-screen screenshot, simply select this option from the menu. Your Chromebook will then capture the entire contents displayed on your screen at that moment, giving you a comprehensive snapshot of what you’re viewing.
Customized Screenshot Selection
For more precise control over your screenshots, you can choose the option to capture a specific area of the screen. This functionality enables you to outline the exact region you want to screenshot, perfect for focusing on specific details or sections of your display.
Reviewing and Saving Your Screenshot
After taking your screenshot, you’ll typically have the opportunity to review it before saving. This step allows you to ensure that the captured image meets your expectations before proceeding to save it to your Chromebook.
Utilizing Screenshot Editing Tools
Some Chromebooks offer built-in editing tools that allow you to annotate or enhance your screenshots. If you want to add text, draw shapes, or highlight areas within your screenshot, these editing features can help you customize your images further.
Saving and Sharing Your Screenshot
Once you’re satisfied with your screenshot, you can save it to your Chromebook for later use or share it with others. Whether you’re sending the screenshot via email, messaging apps, or social media, sharing your captures is simple and convenient.

Practice Makes Perfect
As with any new skill, taking screenshots on your Chromebook may take some practice to master. Experiment with the different methods and features available to find the approach that works best for you. With time and experience, you’ll become a screenshot pro in no time!
