If you’re looking to add a card on Cash App, whether it’s a debit card or a credit card, the process is quite straightforward and can be completed in just a few simple steps. In this comprehensive guide, we’ll walk you through each step to ensure you can seamlessly link your preferred card to your Cash App account.
Step 1: Accessing the Cash App
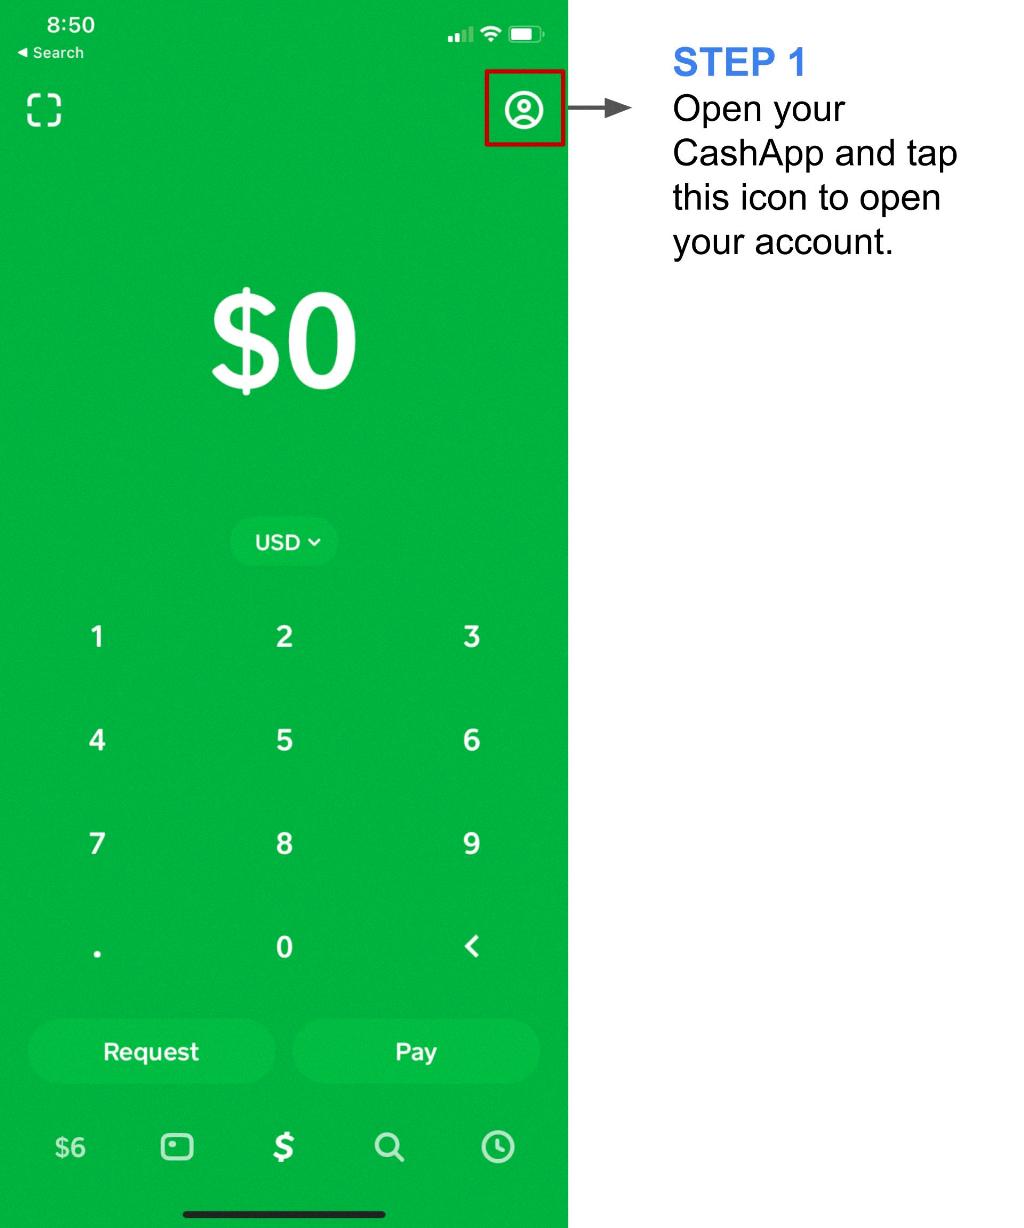
The first step to adding a card to Cash App is to open the application on your mobile device. If you haven’t already downloaded the app, you can find it in your app store under the name “Cash App” by Square, Inc.
Step 2: Navigating to the Settings
Once you have logged into your Cash App account, navigate to the settings menu by clicking on your profile icon located in the top right corner of the screen. This will open a dropdown menu where you can access various account settings.
Step 3: Selecting “Linked Accounts”
Within the settings menu, locate the option for “Linked Accounts” and click on it. This section is where you can manage the cards and bank accounts linked to your Cash App for easy transactions.
Step 4: Choosing “Add a Bank or Card”
Once you are in the “Linked Accounts” section, select the option that says “Add a Bank or Card.” This will prompt you to enter the details of the card you wish to link to your Cash App.
Step 5: Entering Card Information
Next, carefully enter the relevant information for the card you want to add to Cash App. This typically includes the card number, expiration date, CVV, and billing zip code. Ensure that all details are accurate before proceeding.
Step 6: Verifying the Card
After entering the card information, Cash App may prompt you to verify the card through a verification process. This can involve confirming your identity or authorizing a small transaction to validate the card.
Step 7: Confirmation and Activation
Once the verification process is complete, you will receive a confirmation message that your card has been successfully added to your Cash App account. Your card is now ready for use in making transactions within the app.
Step 8: Managing Linked Cards
With your card successfully added to Cash App, you can manage your linked cards under the “Linked Accounts” section of the settings menu. From here, you can add additional cards, remove existing ones, or update card details as needed.
Step 9: Security and Privacy
It’s essential to prioritize security when adding a card to Cash App. Ensure that you are entering your card details in a secure environment and never share sensitive information with unauthorized individuals.
Step 10: Using Your Card on Cash App
With your card successfully linked to Cash App, you can now use it to send or receive money, make online purchases, or withdraw funds from ATMs that support Cash App transactions.
Step 11: Troubleshooting Tips
If you encounter any issues while adding a card to Cash App, you can reach out to the app’s customer support for assistance. They can provide guidance on resolving any technical or account-related issues.

Step 12: Enjoying Seamless Transactions
By following these steps, you can easily add a card to Cash App and enjoy seamless transactions within the app. Whether you’re transferring funds to friends or making purchases online, having your card linked to Cash App offers convenience and flexibility.
