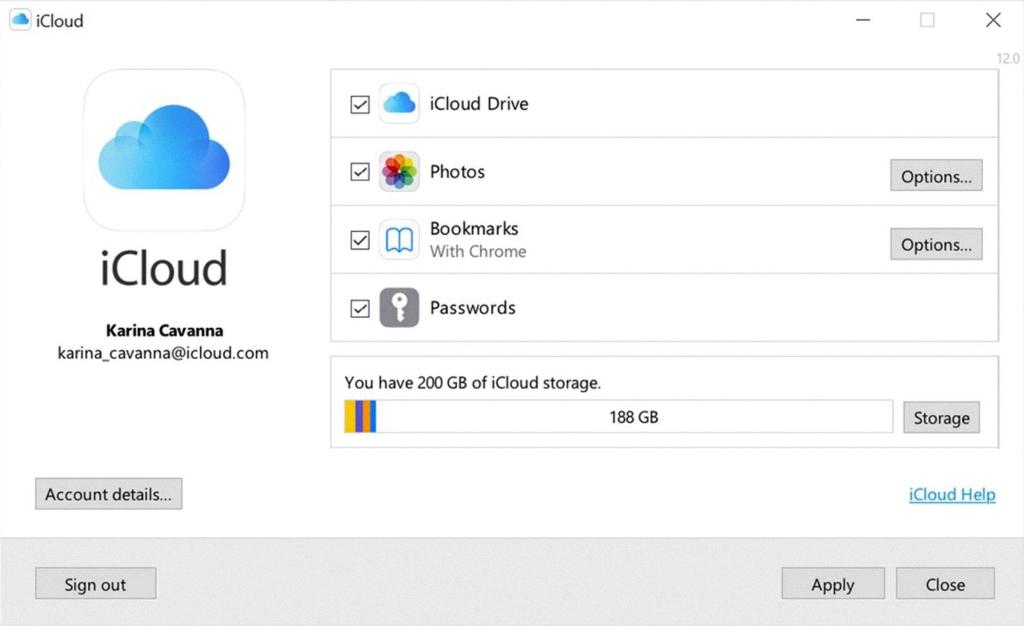
Changing the iCloud account associated with your iPhone can be necessary for various reasons, such as using a different Apple ID or managing multiple accounts. In this comprehensive guide, we will walk you through the process of switching iCloud accounts on your iPhone seamlessly.
Step 1: Access Settings
To begin the process of changing your iCloud account, unlock your iPhone and navigate to the Settings app. This is where you will find all the necessary options to manage your device settings, including iCloud account settings.
Step 2: Sign Out of Current Apple ID
Once you are in the Settings menu, scroll down and locate the “Sign in to your iPhone” option. Tap on it and proceed to sign out of your current Apple ID that is linked to the iCloud account you wish to change.
Step 3: Enter New Apple ID
After signing out, tap on the “Email” field and enter the email address associated with the new Apple ID that you want to use for your iCloud account. Make sure to input the correct email to avoid any login issues later.
Step 4: Provide Password
Once you have entered the email address, proceed to enter the password for the new Apple ID. This step is crucial for verifying your account and ensuring that you have the necessary permissions to access the iCloud services.
Step 5: Choose Merge or Don’t Merge
After entering the password, you will be prompted to choose whether you want to merge the existing data on your iPhone with the new iCloud account or not. Select the option that aligns with your preferences and requirements.
Step 6: Confirm the Changes
Once you have selected your merging preference, proceed to confirm the changes. This step finalizes the process of switching your iCloud account on the iPhone, ensuring that the new account is now active.
Step 7: Verify iCloud Settings
After confirming the changes, it is recommended to navigate to the iCloud settings on your iPhone to ensure that the new account is successfully linked. Check for any error messages or discrepancies that may indicate issues with the account switch.
Step 8: Sync Data and Settings
Once the new iCloud account is set up and verified, you can proceed to sync your data and settings across your devices. This ensures that your information is up to date and accessible on all your Apple devices.
Step 9: Manage iCloud Storage
With the new iCloud account in place, take this opportunity to review and manage your iCloud storage settings. You can adjust the storage allocation, upgrade your plan, or optimize your usage to suit your needs.
Step 10: Test iCloud Services
To ensure that the iCloud account switch was successful, test various iCloud services such as iCloud Drive, Photos, Contacts, and Calendar. Verify that your data is syncing properly and that you can access all the features seamlessly.
Step 11: Troubleshooting
If you encounter any issues during or after the iCloud account change, refer to Apple’s official support resources for troubleshooting guidance. Common problems may include login errors, syncing issues, or data discrepancies.

Step 12: Enjoy Your New iCloud Account
Congratulations! You have now successfully changed the iCloud account on your iPhone. Enjoy the seamless integration of your new account and explore the full range of iCloud features and capabilities available to you.
