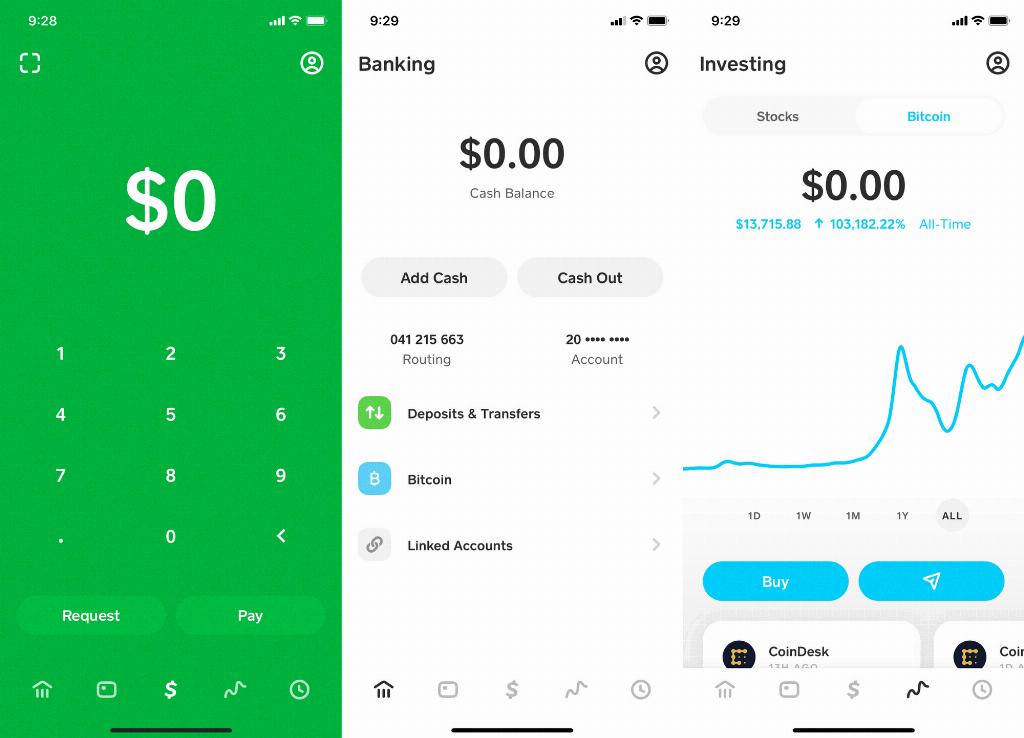
Depositing a check into your Cash App account is a convenient way to access your funds digitally without visiting a bank. With Cash App, you can quickly and easily deposit checks using your mobile device. Follow these detailed steps to deposit a check into your Cash App account.
1. Open the Cash App
To get started, open the Cash App on your mobile device. The Cash App icon typically displays a green background with a white dollar sign.
2. Navigate to Your Balance
Once you have opened the Cash App, navigate to your balance by tapping on the “Balance” button located on the home screen. This will provide you with an overview of your current Cash App balance.
3. Select the “Cash” Option
After accessing your balance, select the “Cash” option to proceed with depositing your check into your Cash App account. This option enables you to manage your cash transactions effortlessly.
4. Click on “Add Funds”
Next, tap on the “Add Funds” button within the Cash section to initiate the process of depositing money into your Cash App account. This step allows you to prepare your funds for the check deposit.
5. Apply a Boost (if available)
If you have Boosts available in your Cash App account, you may choose to apply one to your deposit. Boosts can provide you with additional benefits, such as cashback or discounts, enhancing your overall deposit experience.
6. Choose the “Deposit Check” Option
Within the “Add Funds” section, select the “Deposit Check” option to indicate that you would like to deposit a check into your Cash App account. This feature enables you to digitally deposit your check securely.
7. Enter the Check Amount
Upon selecting the “Deposit Check” option, you will be prompted to enter the amount of the check you wish to deposit into your Cash App account. Ensure that you accurately input the check amount to prevent any discrepancies.
8. Capture Photos of the Front and Back of the Check
After entering the check amount, take clear, well-lit photos of both the front and back of the check using your mobile device’s camera. Make sure that all details on the check are visible in the photos to facilitate a smooth deposit process.
9. Review and Confirm the Check Deposit
Before finalizing the check deposit, review the captured photos of the check to ensure clarity and accuracy. Once you are satisfied with the images, proceed to confirm the check deposit to initiate the processing of the funds into your Cash App account.
10. Wait for Processing
Upon confirming the check deposit, allow some time for the processing of the funds into your Cash App account. The processing time may vary depending on various factors, such as check verification and the Cash App’s internal procedures.
11. Check Your Balance
After the processing is complete, check your Cash App balance to verify that the deposited funds from the check are successfully available in your account. You can now access and utilize the deposited funds digitally within your Cash App wallet.

12. Enjoy Your Deposited Funds
With the successful deposit of your check into your Cash App account, you can now enjoy the convenience of accessing your funds digitally and engaging in various cash transactions using your Cash App balance. Explore the functionalities and features of your Cash App account to make the most of your deposited funds.


