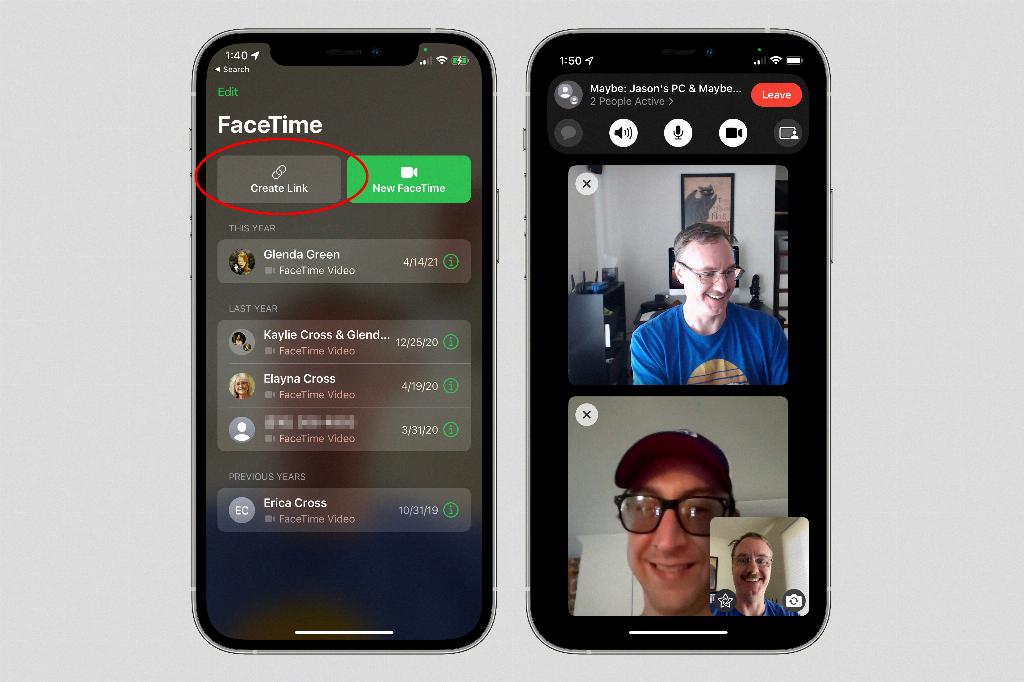
FaceTime is a fantastic tool for video calls, and did you know that you can now capture Live Photos during your FaceTime calls on your Mac device? In this guide, we’ll walk you through the steps to enable this feature so you can cherish those special moments with your loved ones.
Step 1: Open FaceTime Settings
To enable Live Photos during FaceTime calls, start by opening the FaceTime app on your Mac. Once the app is open, navigate to the FaceTime menu and select “Settings.”
Step 2: Access General Settings
Within the Settings menu, click on the General tab. This is where you’ll find various options related to your FaceTime preferences and settings.
Step 3: Enable Live Photos
Look for the option that says “Allow Live Photos to be captured during Video calls” and make sure to check the checkbox next to it. This is the key setting that will allow you to capture Live Photos while on a FaceTime call.
Step 4: Save Your Settings
After enabling the Live Photos feature, remember to save your settings by clicking on the appropriate button within the FaceTime app. This will ensure that your preferences are applied and ready to use during your next video call.
Step 5: Start a FaceTime Call
Now that you’ve enabled Live Photos, initiate a FaceTime call with your desired contact. As you engage in the call, you’ll have the option to capture Live Photos of the moments you want to remember.
Step 6: Take Live Photos
During the FaceTime call, look for the Live Photos button on the screen. When you’re ready to capture a moment, simply click on the button to take a Live Photo. These Live Photos will be saved to your device for later viewing.
Step 7: Enjoy Your Memories
After the call is over, take some time to review the Live Photos you captured during the FaceTime session. Relive the special moments and share them with your friends and family to spread the joy.
Step 8: Customize Your Live Photos
You can further enhance your Live Photos by editing them using the tools available on your Mac device. Add filters, adjust lighting, or crop the images to create stunning visuals that truly capture the essence of the moment.
Step 9: Share Your Live Photos
Share your Live Photos with others by sending them through messages, email, or social media platforms. Spread the happiness and allow others to experience the magic of your FaceTime moments.
Step 10: Experiment with Different Settings
Feel free to explore the various settings and options available within FaceTime to customize your experience further. Try different features, such as filters or effects, to add a unique touch to your Live Photos.
Step 11: Make Memories Last
By enabling Live Photos during FaceTime calls, you’re creating lasting memories that you can revisit whenever you want. Make the most of this feature to capture the essence of special moments shared with your loved ones.

Step 12: Keep Capturing Moments
As you continue to use FaceTime for video calls, don’t forget to utilize the Live Photos feature to preserve precious memories. Whether it’s a milestone celebration or a casual chat, let Live Photos help you cherish the moments that matter most.
