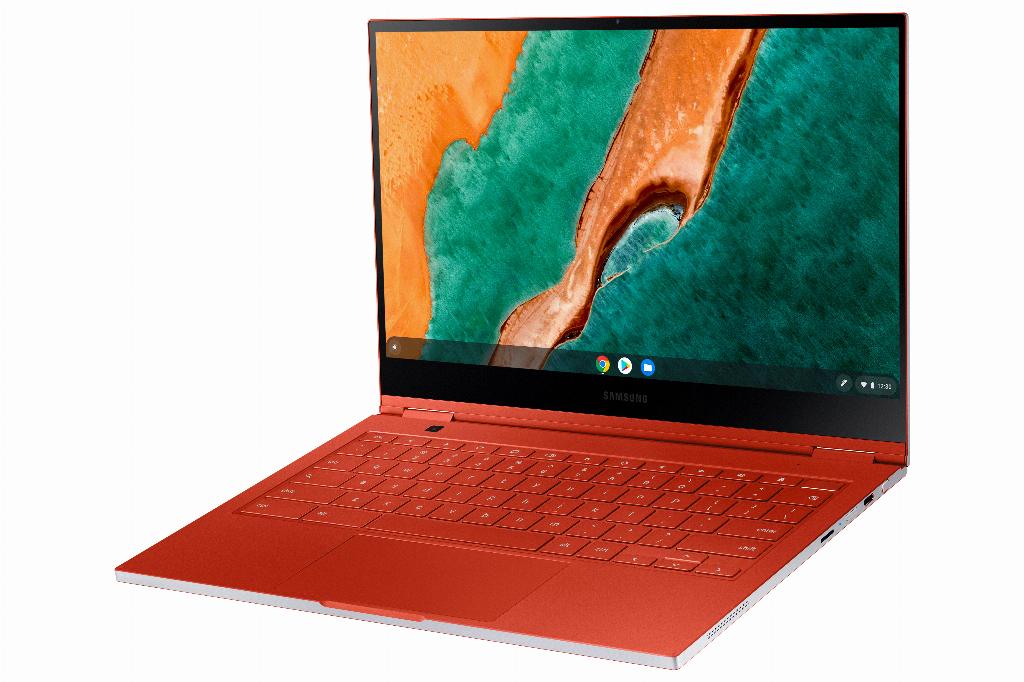
When it comes to taking a screenshot on your Chromebook, the process is quite simple and can be done in a few easy steps. Whether you want to capture a full screen or just a portion of it, your Chromebook provides you with the tools to do so seamlessly.
If your Chromebook comes with a dedicated Screenshot key, all you need to do is press that key. This key is specifically designed to help you capture screenshots quickly and efficiently. However, if your Chromebook doesn’t have a Screenshot key, there is an alternative method you can use.
For Chromebooks without a Screenshot key, you can press Shift + Ctrl + Show windows to take a screenshot. This key combination allows you to capture your screen with ease, even if your Chromebook doesn’t have a dedicated key for screenshots.
After you have pressed the appropriate key or key combination to take a screenshot, a menu will appear at the bottom of your screen. This menu provides you with options to select the type of screenshot you want to take. You can choose to capture a full screen or select a specific portion of it.
To take a full screen screenshot, simply select the corresponding option from the menu. This will capture everything that is currently displayed on your screen, allowing you to save or share the screenshot as needed. Full screen screenshots are perfect for capturing entire web pages, documents, or images.
If you prefer to capture only a specific section of your screen, you can choose the option to select an area for your screenshot. This allows you to drag your cursor and create a custom rectangle to capture precisely the content you want. This feature is handy when you only need to capture a portion of a webpage or an application window.
After you have selected the type of screenshot you want to take, your Chromebook will automatically capture the image and save it to your device. You can then access the screenshot from your Files app or by checking the Downloads folder. From there, you can view, edit, or share the screenshot as needed.
When it comes to sharing your screenshot, your Chromebook provides you with various options. You can share the screenshot directly through email, messaging apps, or social media platforms. Additionally, you can save the screenshot to Google Drive for easy access across multiple devices.
If you need to take multiple screenshots or want to capture a series of actions on your screen, you can also use the Screen Recording feature on your Chromebook. This feature allows you to record your screen activities and save them as videos for later reference or sharing.
Overall, taking a screenshot on your Chromebook is a straightforward process that can be done in a few simple steps. Whether you need to capture a full screen or a specific area, your Chromebook offers the tools to help you complete the task efficiently. With the ability to save, edit, and share your screenshots easily, you can enhance your productivity and communication on your Chromebook.


